
Summary of Key Points
First, this guide walks you through everything from choosing the perfect audition song and setting up your recording space, to mastering tech essentials and building unshakeable confidence. Moreover, you’ll find a detailed pre-audition checklist, practical vocal warm-ups, video-submission best practices, and post-audition follow-up strategies. Consequently, by following these steps, you’ll maximize your chances of impressing judges and securing your spot in top singing programs and reality shows.
1. Select Your Audition Song Carefully
1.1 Consider Your Vocal Strengths
First of all, pick a song that highlights your unique vocal range and tone. Furthermore, avoid over-done tracks that countless others might choose. As a result, you’ll stand out from the crowd and give judges a fresh listening experience.
1.2 Match the Audition Requirements
In addition, review the audition guidelines: many shows cap submissions at 60 seconds or specify genre restrictions. Therefore, tailor your song choice to fit time limits and style criteria, ensuring you don’t get disqualified on a technicality.
1.3 Add a Personal Twist
Moreover, inject your own flair—be it through a subtle genre mash-up or unique phrasing. Consequently, judges will remember your rendition long after the audition is over.
2. Create a Professional Home Recording Setup
2.1 Find a Quiet, Well-Lit Space
Firstly, designate a room with minimal background noise and distractions. Subsequently, set up near a window or soft light source so that your face is clearly visible, which helps judges connect with you.
2.2 Invest in Basic Equipment
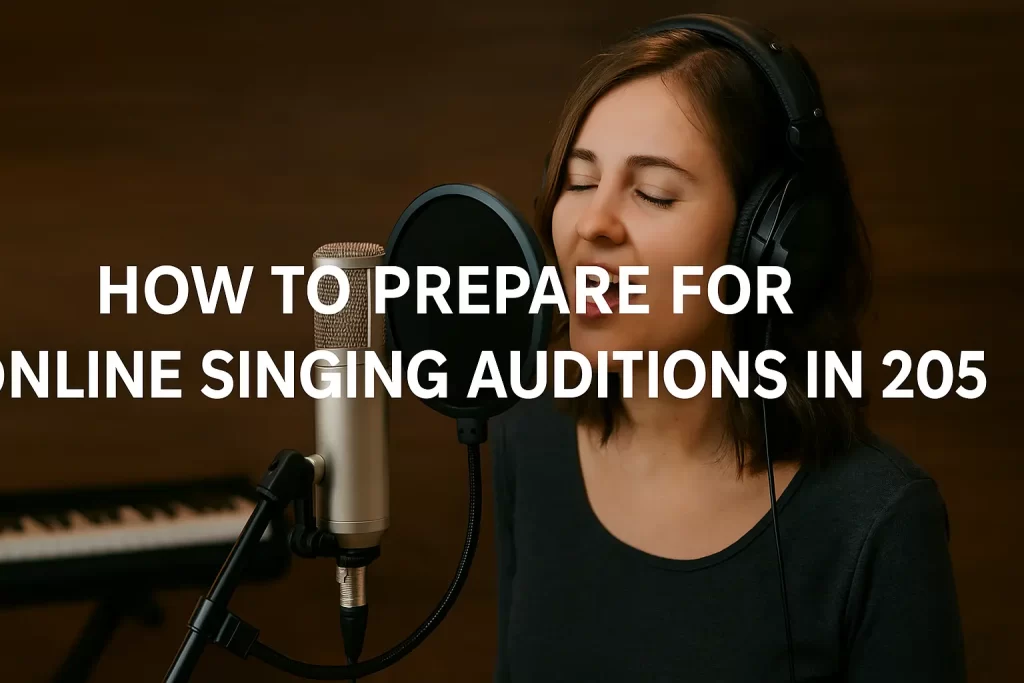
Next, use at least a USB condenser microphone and a simple pop filter to capture clear vocals. Moreover, a keyboard or guitar can help keep your pitch steady, even if you’re not showcasing instrumental skills.
2.3 Check Your Acoustics
In addition, soften hard surfaces with curtains, rugs, or cushions to reduce echo. Consequently, your recording will sound more polished and closer to a studio quality.
3. Master Your Vocal Warm-Up Routine
3.1 Hydrate and Relax
First, drink room-temperature water and avoid dairy or caffeine before singing. Furthermore, gentle neck and shoulder rolls help release tension, preparing your body for optimal vocal performance.
3.2 Lip and Tongue Trills
Next, perform lip trills and tongue trills across your full range. In doing so, you’ll warm up your vocal cords evenly, improving both agility and stamina.
3.3 Scale and Arpeggio Exercises
Moreover, run through major and minor scales, then add arpeggios. Therefore, when you reach your audition song, you’ll maintain consistent pitch and tonal clarity.
4. Record and Review Your Audition Video
4.1 Do Multiple Takes
First, record each section of your song 2–3 times. Subsequently, compare takes and select the one with the best tone, emotion, and technical accuracy.
4.2 Frame Your Shot
In addition, position the camera at eye level and ensure your head, shoulders, and any instrument remain fully in frame. Consequently, judges can observe both your vocal technique and stage presence.
4.3 Edit Lightly
Next, use simple editing software to trim silence at the start and end—however, avoid heavy effects or auto-tune. Therefore, you’ll deliver an authentic performance that highlights your true voice.
5. Submit with Confidence
5.1 Follow Submission Guidelines
First of all, re-read the application instructions—file format, size limits, naming conventions. In addition, missing a single requirement can lead to disqualification.
5.2 Craft a Personal Introduction
Moreover, include a brief on-screen intro (name, age, city) or a written cover note if the platform allows it. Consequently, judges get context about who you are and why you chose that song.
5.3 Double-Check and Send
Finally, preview your entire submission on multiple devices (phone, laptop) to ensure audio and video sync properly. Then, submit before the deadline with confidence that you’ve covered every detail.
6. Follow Up and Stay Engaged
6.1 Send a Thank-You Email
First, if you receive a judging panel’s contact, send a polite thank-you note within 24 hours. Furthermore, express gratitude for their time and reaffirm your enthusiasm for the opportunity.
6.2 Keep Practicing
Meanwhile, continue refining your craft—learn new songs, attend workshops, and seek feedback from peers. As a result, even if this audition doesn’t pan out, you’ll be ready for the next one.
6.3 Network with Fellow Singers
In addition, join online singing communities and local music groups. Therefore, you’ll build relationships that can lead to future collaborations and audition tips.
7. Pre-Audition Checklist
- ✅ Song selection approved per guidelines
- ✅ Quiet, well-lit recording space
- ✅ Microphone and pop filter tested
- ✅ Vocal warm-up complete
- ✅ Multiple takes recorded and reviewed
- ✅ Video framed and lightly edited
- ✅ Submission file meets format/size rules
- ✅ Thank-you email draft ready
By following these detailed steps—first choosing the right song and then polishing both your voice and your video setup—you’ll give yourself the best chance to shine in any online singing audition in 2025. Ready to make your mark? Start preparing today, and let your voice carry you all the way to the top!